- 1161 E Kimberly Rd #A Davenport, IA 52807
- (563) 265-0777
- Send Us A Text
- Email Us
Your dryer works hard to keep your laundry routine running smoothly—but when was the last time you gave it a proper deep clean? Over time, lint, dust, and detergent residue can build up, affecting your dryer’s performance, shortening its lifespan, and even increasing the risk of fire.
Regular deep cleaning helps keep your dryer running efficiently and safely. Here’s a simple, step-by-step guide to deep clean your dryer like a pro.
Safety first! Unplug your dryer from the power outlet. If it’s a gas dryer, turn off the gas valve. Then, carefully pull the dryer away from the wall to give yourself room to clean behind and around it.
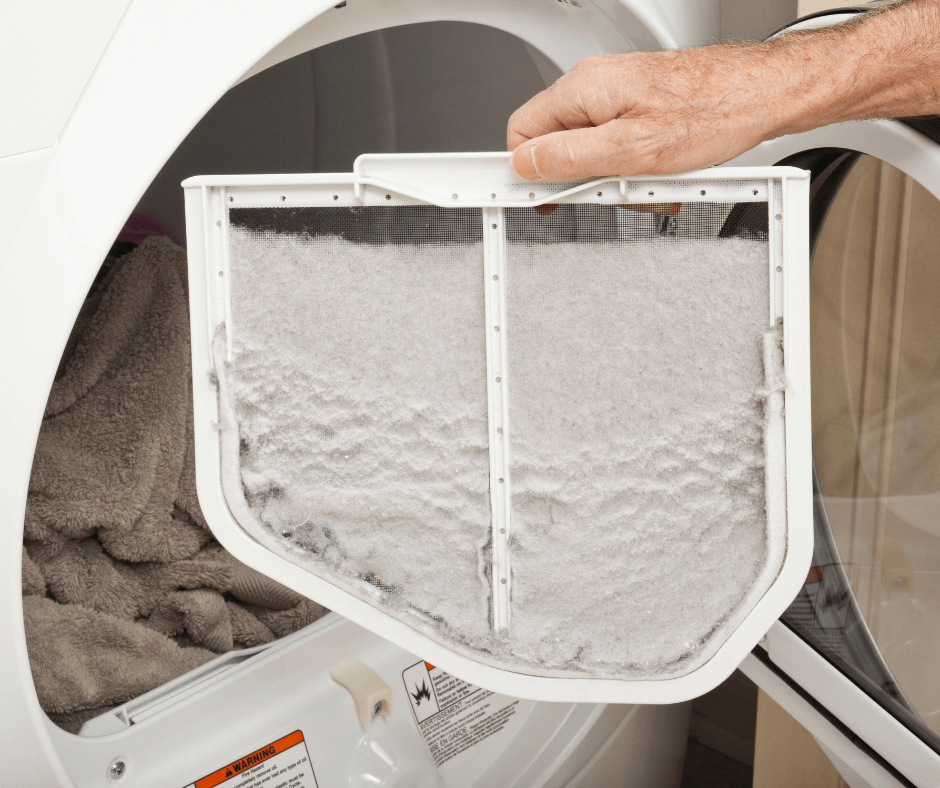
You should already be cleaning the lint trap after every load, but now it’s time to go deeper.
Using your vacuum’s hose attachment, thoroughly vacuum behind and under your dryer. You’ll likely find dust, lint, and maybe a missing sock or two. This also gives you a chance to clean around the dryer vent hose.
Wipe down the inside of the dryer drum with a damp cloth and mild dish soap to remove any residue from dryer sheets or spilled detergent. Avoid abrasive cleaners that could damage the finish.
For stubborn marks (like crayon or ink), try using a paste of baking soda and water or a non-flammable household cleaner recommended by your dryer’s manufacturer.
A clogged dryer vent is one of the leading causes of dryer fires, so don’t skip this step.
If you notice heavy buildup or haven’t cleaned the vent in over a year, consider hiring a professional for a more thorough inspection.
Once everything is clean and dry, reconnect the vent hose, slide your dryer back into place, and plug it in (or turn the gas back on). You’re ready to enjoy a fresh, clean, and more efficient dryer!

Aim to deep clean your dryer every 6 to 12 months, depending on how often you use it. Regular maintenance not only boosts performance—it helps extend the life of your appliance and keeps your home safer.
If your dryer is still taking too long to dry or showing signs of age, it might be time for an upgrade. At Discount Appliance in Davenport, we offer reliable new and scratch-and-dent dryers that won’t break the bank.
Stop by our store at 1161 E Kimberly Road STE A, Davenport, IA, or connect with us on Facebook to see our latest arrivals and unbeatable deals.